Showing posts with label Create. Show all posts

Wednesday, June 5, 2013

Tim Holtz Inspired Tag

For the very first time, I checked out  Tim Holtz's 12 Tags of 2013 Challenge and I was totally inspired.  I went right out and bought a set of his distressed markers and a few additional items and got started on my tag.  Here are the results.


Love. Love. Love!

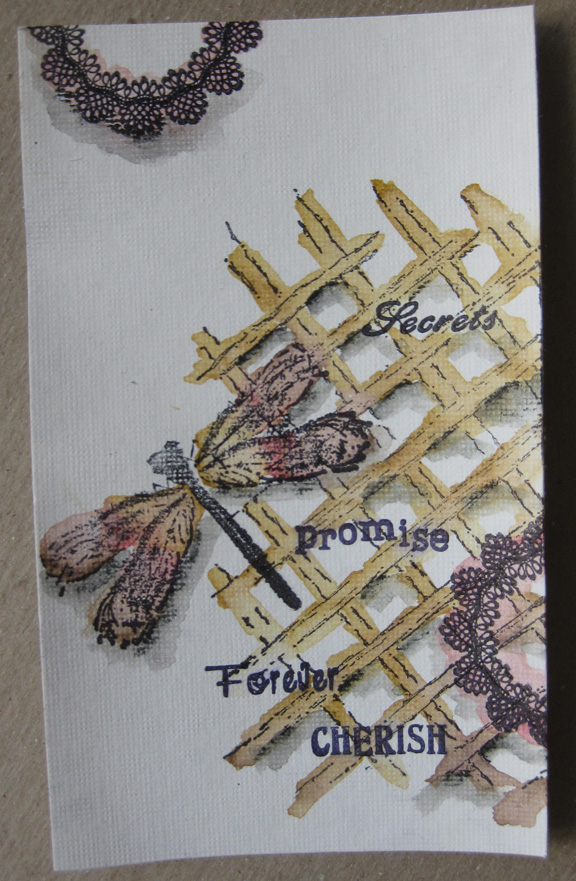
First I stamped, and water colored my images.
Also tore the bottom edge, inked edges, added splats to finish this part of the tag,
as shown above.
  Allow to dry.

I added a bit of paint, smashed the ink pad and added some distress stain.
If you do not have a craft sheet, wax paper will do.
Next, you will also need to spritz with water to blend colors.

Drag piece through paint, stain and ink. Allow to dry
or speed drying time with heat gun.

Drag tag through remaining mix. 

Stamp over colored tag.


Add large grommet and ribbons.
Note.  I spritzed the lace and ribbon to
make it look more distressed and match my tag.
I heated the ribbon to help it dry faster, which also curled the lace.
Love the look. 

FINI!

A closer look. 

Don't forget to come back because there's more!

Comments are welcome and cheered!


Monday, June 3, 2013

Beautiful Mixed Media Bracket Frame: How To...

Ahhhh, the joy of crafting. I've been spending at least an hour in my craft studio each day. It feels so good, so relaxing.  With that time has come an overload of creativity and I am not complaining.  I LOVE it.

I recently took part in a Pay it Forward Swap on SOC, where you were given two names and you had to create something for each person and send it to them by May 31.  Here is the frame I created for one of my pals and how you can create one too!


Gather supplies: Gesso, Tim Holtz Distress Stains, Diva Mists, Prima Flowers,
paint brush, sponge for texture and of course, your frame. 


Cover frame with Gesso.  Allow to dry. 

Dip sponge in Gesso and sponge onto frame to add texture.
Allow drying time.

I used distress stain to color a few of the flowers. 

Or use mists to change and enhance color of flowers.
Set flowers aside to dry. 

Next, I misted the frame.  Allow to dry or use your heat gun to
speed up drying time.  Next, I stamped the frame in several places, using a background
lattice stamp.

Add bling!  I also dipped my sponge in the Gesso again to add
a bit more texture in white atop the painted frame. 
Add flowers and butterfly.  I used a strong wet adhesive along
with some glue dots for added hold. 

I added a bit of Stickles to add more sparkle.
See the squiggly line.  Just squeeze and draw!


Allow frame to dry completely overnight. 


Beautiful!

I truly enjoyed the process of creating this frame and I find that I enjoy painting, stamping and inking quite a bit.

That's just one of my recent projects.  Stay tuned for another frame later this week, a pretty junque journal page, an awesome Tim Holtz inspired tag and more!

You don't want to miss a beat.  I'll be sharing how to's, tips and so much more!  If you are looking for incredible endless inspiration.  You've come to the right place!


Friday, May 31, 2013

Mist for a More Saturated Color


I enjoy trying different things to change up my typical scrapbooking style.  It can be anything from using different types of embellishments to trying a new technique or changing up my typical photo layout.


Here I decided to "change it up" by using beads and by misting my flower to more closely match the deep browns in the patterned paper and cardstock. If you look closely, it actually created several shades of brown and more defined creases on the petals.  I love the look. I then added a bead in the center of the button, atop the flower for an added unique touch.

Layout of me doing what I love to do, crafting!

Supplies used: Bazzill Cardstock, Basic Grey Patterned Papers, Thickers by American Crafts for title lettering, Paper Studio beads and pearls. Rub ons. 

Live creatively,


Wednesday, May 29, 2013

Here's Your May Scrapbook Pajama Party Sketch


So excited.  This is our 2nd Scrapbook Pajama Party and it's going to be a blast!  Especially since you all will be joining me in your pajamas!  Yes, I will be live streaming tonight in my pajamas, starting at 8pm est.  Scrapbooking in real-time.  I hope that you are planning to join me.  There'll be crafting, laughter, chatting and fun!

If you are planing to join the party, here is what you will need:


  • The sketch seen below is what I'll be using for inspiration.
  • A page kit with 3 matching cardstocks, 3 4x6 photos, 3 coordinating patterned papers, a flower or other fun accent for the center piece, as well as several embellies and title lettering to accent your page. 


I hope to see you there!

Don't miss any of our crafty fun!  Sign up for the newsletter NOW and claim your FREE sketch ebook.

Are you crafting with me?

Creative ideas for your layouts, your cards and your life!

Tuesday, May 28, 2013

Finish with a Half Circle


Sometimes just a simple touch is perfect finish to a layout or card.  Half circles can be that special touch.  I love how this just adds a little extra pizzaz to an otherwise simple card.  Of course, adding the decorative brad in a different color does the same!

Supplies used: Kraft paper, Chatterbox patterned paper (I think it had been in my stash for over 4 years.)  Paper Studio Brad.


Friday, May 24, 2013

An Emotional Art Journal Page


I cried after completing this art journal page.   After losing 120lbs and keeping it off for the past 3 years this page says so much...I feel strong, beautiful and free from the many constraints of morbid obesity. I am amazed at how just allowing myself to freely create, this is the image I came up with. It's perfect. I love it. It's me! 

Notice how it looks like she is coming forth out of the darkness.  This process is very freeing and enlightening. Page not planned, as a matter of fact, as I started it I didn't even like it.  However, I LOVE the finished page.

Supplies used: Vibez Mists, Making Memories Acrylic Paints, Tim Holtz Stamp, Scrappy Cat Stamps, Black Gesso, Reeves Oil Pastels. 

How do you incorporate art journaling with your crafting?


Thursday, May 23, 2013

Going Digital?!

Supplies used: SP Promise Kit by Shabby Princess
This photo and sentiment is from this past weekend.  So true!  LOL!

Well, not really but I am dabbling.  I am enjoying this big creative flow.  I've been in the Classy Craft Studio every day for the past 3 weeks and I don't see my mojo letting up.

I've done cards, 12x12 layouts, ATC's, 6x12 pages, art journal pages and now a digi page.  Loving the diversity in creativity this wonderful hobby provides.  Not sure I could ever get bored.

There are so many choices.  When your "creative mojo" wanes, try something different.  Try something new.

Happy, Crafty Thursday!

Monday, May 20, 2013

Paint, splatter, spritz!


Continuing to play with paint, mists and stickles.  I painted the backgound in with a bit or red and green acrylic paint.  Added a spritz of mist and then a few dots with the stickles.  To finish my touch of mixed media, I stamped the heart lines.  Cute.

Supplies used: Kraft card stock, Glimmer Mist, Verve Stamps, Stickles, Making Memories Acrylic Paints

Happy Monday.  I hope you find time to craft!


Wednesday, May 15, 2013

Art Journal Page 2: Discoveries: How to...

I've shared my growing stash of supplies for art journaling and mixed media.  I've told you that I've been in the studio creating every day.  Well, today, I'll share one of those art journal pages.

I am finding art journaling to be care free and fun.  Being a little messy and using some of those paints, stamps and mists that I've had for way too long feels good, as well.  

Steps to completion:
  • Applied Gesso to page. 
  • Misted background with Glimmer Mists.
  • Painted using Art Anthology Gel Paints.
  • Misted template in a dark silver in 3 spots on page.
  • Stamped dragonfly image.
  • Stamped Tim Holtz quote.
  • Sponged to create textures spots in pink and yellow. 
  • Dripped mists to create splatters.
  • Dipped dabber into paints to create the dots. 
  • Out lined quotes and paint with a marker.


Monday, May 13, 2013

Art Journaling/Mixed Media: List of Supplies for Beginners


If you follow my blog or me on Facebook you know that I have fallen in love with art journaling, junque journaling and mixed media.  I just cannot get enough.  I've been in my craft studio every day playing with Gesso, paints, dyes, mists and inks.  What fun.

I've been creating layouts without patterned paper (gasp) and LOVING it.  For those who know me, this is a FAR departure from my "normal" style of scrapbooking, where patterned papers rule with each layout needing to contain 3 or more patterns.  However, I find it freeing, fun and very artsy. 

I am quickly adding to my collection of paints, stamps, mists and such...as seen by the above picture. The stash grows!

However, I thought it would be nice to share a simple list of supplies you might want to purchase or gather if you too would like to give mixed media and art journaling a shot without breaking the bank.  Many of you already may have some of this stuff in your stash.  However, there are a few essentials I think are necessary, just so you can give it a try.  Once you find your rhythm you can add to the supplies.  You might find you like art journaling or not so much.  One thing to remember...do what you want.  The coolest part of art journaling is, there are NO rules.  Do what you like!


Beginner's supply list:
  • Gesso (to prime your paper. You want to use this. It will allow your paints/supplies to go much further.
  • Acrylic Paints
  • Ink pad
  • Stamps 
  • Templates
  • Brushes
  • Mists
  • Sharpie or Copic for writing on top of paint
  • Oil Pastels (really not must have for beginners but it'll provide you with a bit of variety. 
  • Paint tray 
  • Artists Sketch Book with heavy paper to hold up to the painting and misting. 

Here is my first layout created without patterned paper.  I LOVE how this turned out.  I used a stamped image, paint, stickles, rub ons, flowers and buttons to complete this layout.  It's in 6x12 format for a special album I'm creating of friends from days gone by!


Stayed tuned more creations coming soon, including some art journaling and junque journaling pages!

Happy Crafty Monday!

Friday, May 10, 2013

3 Simple, Fun Ways to Use Your Rub Ons


I don't know about you but I think rub ons are one of the best scrappy inventions!  When they arrived on the scene I had to have them all.  Ok maybe not them all but it feels like I really tried to get them all.  I have quite the stash to prove it.  My file runneth over.  Therefore, lately I've been trying to use up some of the stash.

With such a large variety, they are a great way to add a touch of elegance, fun, jazz or color to your projects: layouts, cards or altered art.

I created the card above.  The entire design is a rub on, except for the patterned paper, bling and pearls.

I also created an ATC and a book mark.  I love having cards ready for every occasion and bookmarks are a quick, thoughtful gift idea for those who still enjoy the feel of an actual book, as I do.


Supplies used: Cardstock: Bazzill Basics; Rub ons: Bo Bunny; Pearls; Bling; Ribbon: May Arts; Rit Dye.

Do you have a rub on stash?  How do you use them?

Comments are welcome and cheered!


Wednesday, May 8, 2013

Cute Idea to Jazz Up Your Ribbon!


It's another wedding memory! Welcome to the Toast!

Story behind the photos:  During this part of the ceremony, our wedding coordinator made it clear that had to keep drinking the champagne until it was gone. Thank goodness it was tasty. They teased, as I completed my glass first, saying, "Well, we know who will wear the pants in this family!"  LOL! Robert readily agreed.  Hahaha!

However, the most memorable part was when my mom toasted us, saying "To everlasting happiness and everlasting love."  It was simple, yet so sweet and completely heart felt.  I still feel such joy whenever I think of it.  It was her blessing and loving our union and only wishing the absolute best. I cannot forget to mention my little brother's giggly, "congratulations," as he was allowed to take a sip of champagne.

Supplies used:  Cardstock: Bazzill Basics; Patterned Paper: Basic Grey;  Ribbon: May Arts; Bling: Heidi Swapp; Rub ons: Making Memories; Charms


Great idea for using your ribbon: Add a strip of bling to otherwise plain ribbon to add sparkle. Years later I still love this effect. 


Check out last week's, "Signed, Sealed, Delivered," for another, sweet wedding moment. 

Next, week...that yummy, incredible Cake!


LinkWithin

Related Posts Plugin for WordPress, Blogger...