For the very first time, I checked out
Tim Holtz's 12 Tags of 2013 Challenge and I was totally inspired. I went right out and bought a set of his distressed markers and a few additional items and got started on my tag. Here are the results.
 |
| Love. Love. Love! |
 |
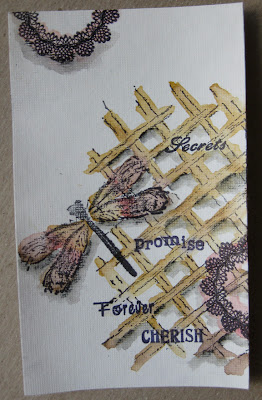
First I stamped, and water colored my images.
Also tore the bottom edge, inked edges, added splats to finish this part of the tag,
as shown above. Allow to dry. |
 |
I added a bit of paint, smashed the ink pad and added some distress stain.
If you do not have a craft sheet, wax paper will do.
Next, you will also need to spritz with water to blend colors. |
 |
Drag piece through paint, stain and ink. Allow to dry
or speed drying time with heat gun. |
 |
| Drag tag through remaining mix. |
 |
| Stamp over colored tag. |
 |
Add large grommet and ribbons.
Note. I spritzed the lace and ribbon to
make it look more distressed and match my tag.
I heated the ribbon to help it dry faster, which also curled the lace.
Love the look. |
 |
| FINI! |
 |
| A closer look. |
Don't forget to come back because there's more!
Comments are welcome and cheered!


I really love the look of this! You are becoming quite the mixed-media artist!
ReplyDeleteThis is awesome!!! The technique is wonderful...just love this tag!
ReplyDelete